
Unlock Your Free Woodworking Secrets – Download Now!
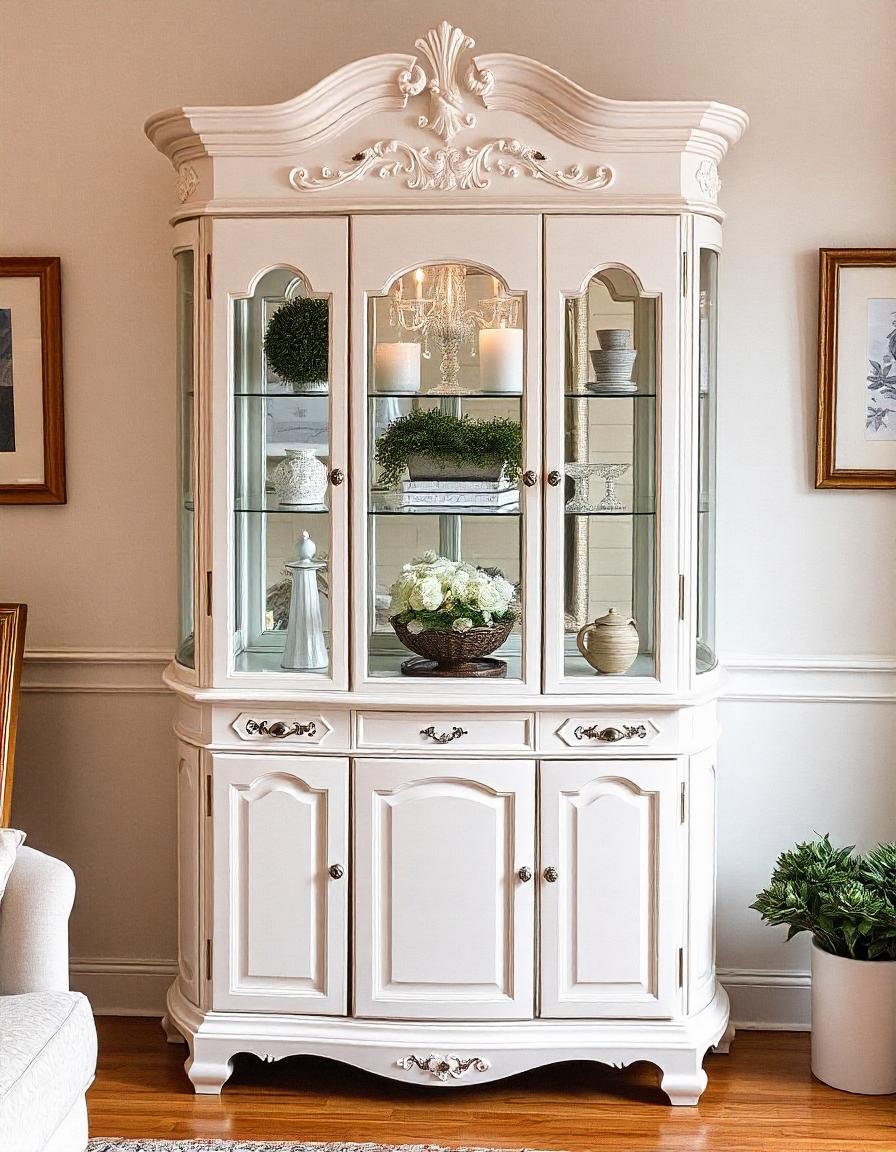
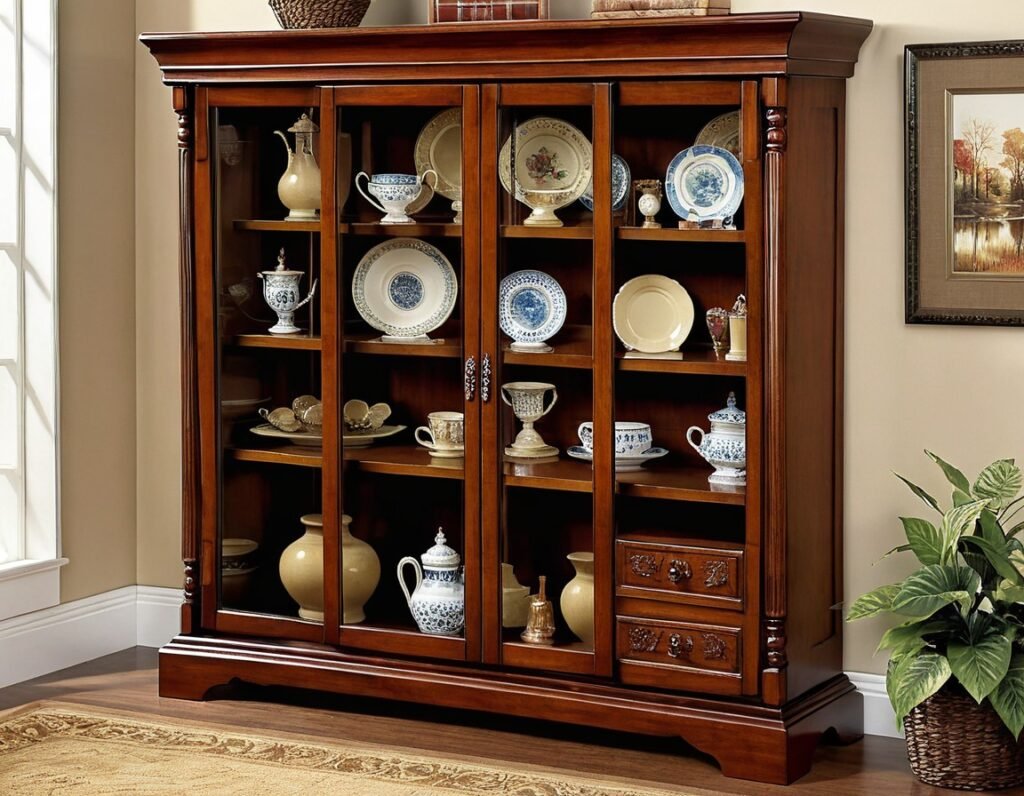
A curio is much more than a storage facility; it becomes a display of your most treasured contents, a unit that integrates aesthetic beauty with practical functionality. Be it chipped, old heirlooms, the memorabilia collection from your travels, or those expensive decors you bought to make your room look just right—a curio cabinet is a centerpiece in any room, bringing elegance and opulence to the table. Building your own curio cabinet is a very satisfying project, both for woodworking and in personalizing an item to your sense of style and needs. Now follow this detailed guide that will help to take every process from choosing the appropriate materials to the final assembly and finishing of the piece, creating a good-looking but durable cabinet.
1. Choosing the perfect materials for your curio cabinet
The right choice of materials can make, or break a project like the Curio Cabinet. Your choice of woods will be the defining element in how your project is going to look and feel when it is completed but also in its life expectancy. Each variety of wood has its own unique characteristics, including grain pattern, work-ability, and others; therefore, selection should be based on your design vision and functional requirements.
Popular Wood Choices:
Cherry: Cherry has a rich, warm color with a smooth grain that’s said to improve with age. This wood would be ideal to use when building the traditional curio cabinet that gives off old-world elegance. Another prosaic factor about Cherry is that it is very good workable wood.
Oak: It has a grainy, individual texture, making it a very strong wood that can stand the damage that will be faced structurally, and it will also add some character within the piece constructed from it. It is durable enough to contribute to furniture able to withstand everyday demands. It can be naturally finished to let wood grain filter or in darker finishes to maintain a professional appearance.
Maple: Maple wood is itself known to have a very smooth texture and light color, therefore, easily stained or painted into many textures. The wood suits the modern or minimalist design of a curio cabinet, where a spirit of a smooth, clean presentation can be displayed. This type of wood also will make it strong, a very good kind of wood for use of a curio cabinet often.
Plywood: High-quality plywood might not yield richness similar to solid wood, but it will make a great and reasonable practical application for the back panel and shelves in the curio cabinet. It is relatively stable and does not easily warp, thereby forming an appropriate consideration for structural components. Properly finished, plywood can easily mimic the texture of solid wood, providing an economical yet reliable alternative.
Glass panels can be added to the doors and sides of the cabinet, providing a clear view of the items being displayed, while also protecting the items from dirt and damage. Wood screws or dowels can be used for an economical and compact way to join all the different parts of a cabinet together. Wood glue can be used to join, in one piece, the joints that are very strong and long-lasting, so they are important in making the frame of the cabinet stable. Sandpaper is also important to smooth the surface of the woods, as it is rubbed against it, and creating an even texture before finishing.
Finishing products: Stain, varnish or paint that will enhance the natural element of the wood and protect it from use.
Tip: Keep in mind how a product will suit your overall room aesthetic when choosing materials. The wood should enhance the beauty of the objects already in existence in your room, thereby making the whole space very pleasant-looking.
Unlock Your Free Woodworking Secrets – Download Now!
2. Gathering Tools and Setting Up Your Workspace
A good project starts with good tools and suitable workshop organization. Working this way will bring out efficiency, reduce mistakes, and will clearly provide a better product at a finished level.
Tools Required
Miter saw: These are useful for the precise cutting of angles, which are vital for the finished work of trim and moldings.
Table saw: This is useful for cutting large panels to good size and getting proper cuts straight, which is so important in the feel and total structural integrity of the cabinet.
Drilling and drill bits: Used to create holes in the wood and also to screw so as to fix the entire setup in a consistent position.
Pocket-hole jig: This is a system used for creating concealed, tight joineries that are strong and aesthetically attractive.
Clamps: These are needed to hold pieces being joined together in such a way that the joint will be tight and the entire cabinet will be square.
Tape measure, and speed square: With this, it will help to make sure that at pretty much any stage in the build process, you are being accurate securing that your cuts and joints are exact.
An orbital sander and hand sandpapers for giving all parts that need it a smooth finish.
Paintbrushes or sprayer so that when applying finish on your cabinet, you have an even and looks like a professional coat.
Cutting area
Sturdy workbench: A workbench has to be large enough to manage the lengthy pieces of wood you will be working with and stout enough to carry the weight of the cabinet as you’re going together. Organize your tools: Keep your tools in their places, and keep them near you. This is further going to make your work flow smoother and save time by just being able to look across and find tools or materials easily.
Lighting and Ventilation: Ensure there is adequate lighting in and around the work area so you can see your design and fretwork more clearly, especially the tight cuts of your woodwork or added finishes. Good ventilation is also imperative—this is especially important if you are working with wood glues, finishes, or paints, which emit fumes.
Pro tip: Safety always comes first. Remember to put your safety gear on, such as goggles and gloves, to protect your eyes from all wood particles and your hands from chemicals that might be in the finishes.
3. Designing Your Curio Cabinet
A well-constructed curio cabinet not only serves its functional role, but it will also be a piece of beauty in your household. Before you start on the wood-cutting process, then finalize your design with everything in mind: dimensions, style, and specific features that will be unique to your curio cabinet.
Steps:
Decide the Measurements: The first step to design a curio cabinet is to decide on its size. Measure the space where you want to place your curio to make sure that what you design fits. Keep in mind the height, width, and depth of your cabinet, fitting a suitable display area while at the same time being proportionate to the room’s space.
Outline Design: Now that you are through with the measurements, outline your curio cabinet’s design. Indicate all the important elements: shelves, doors, and any decorative features on the plans. This will help you visualize your end product and make any necessary changes before commencement of construction.
Lay Out a Blueprint: For a more detailed plan, you can lay out a blueprint on graph paper or design software. This should include precise measurements, angles, and joinery details. This will serve as your blueprint that you refer to while making the frame to stay on pace without any mistakes.
Tip: For the doors and sides of the design, you can use glass panels. It gives your curio cabinet an appealing look, but most importantly, the products can be displayed without dust being a threat to them.
Unlock Your Free Woodworking Secrets – Download Now!
4. Wood Cutting and Shaping
The next step in building your curio cabinet is cutting and shaping the wood pieces according to your design. This is a very key part of the process: all cuts must be precise and components shaped properly for a cabinet that fits correctly and that looks nice.
Steps:
Measure and Mark: Measure and mark the wood based on the blueprint measurements. Check all the measurements to ensure accuracy. Even a small mistake might throw joints out of alignment or have other parts of the component fitting poorly together.
Cut the Pieces: Utilize a table saw for cutting big pieces, e.g., the sides of the cabinet and the back. For smaller pieces, such as wooden trim and moldings, you would even want to use a miter saw for the most accurate possible cut. For the time it takes to make this measurement, be sure to make the cut as straight as possible.
Form the Parts: Use sandpaper to smooth the edges cut by a saw. Shape the edges of the shelves, doors, and top to your preference. This is a very important aspect of the cabinet in relation to its aesthetics and safety and also eliminates the sharp points of edges that can cause harm.
Tip: As you make each cut, mark the piece with its intended location in the project. This is an extra step that can help your construction efforts and save time by making sure you are looking at the right piece for the right location.
5. Construct the Curio Cabinet
Now we start the process where it all comes to life. You will see that a lot of precision and accuracy is required at this stage, along with a cool mind. Though it’s time to start building the structure, the exact alignment of the parts and securely established joints are important for a lasting and attractive final outcome.
Steps
Assemble the Frame: Begin to assemble the main frame with the top, bottom, and sides of the curing chamber. A fair amount of wood glue can be used here, and pocket screws will make a super-strong, long-lasting joint. Ensure that the frame is square, as this will influence whether the doors and shelves are square.
Attach the Shelves Ensure that you fasten the shelves in their positions. Also ensure that they are level and equally spaced from one another. You might want to consider using adjustable shelf pins for future adjustments in the height of your shelves. This works well to add extra versatility to a curio cabinet as you can change the space display according to your desire.
Fit the Back Panel When the back panel is in place, this helps secure the entire cabinet from racking and it looks finished. The back panel really does keep a cabinet square— if it’s out of square, it will throw the alignment of the doors and many other components off.
Fit Doors and Glass Panels: Fix the doors and glass panels carefully. Make sure the doors have been set true and operations are easy in opening and closing. Attach the glass panels with your preferred fixture in place—not too tight but not too loose, thus ensuring they do not wobble and make noise.
Use clamps to hold the pieces together as the glue dries. This will give strong, stable joints and also help to prevent any movement that may lead to the pieces being out of line.
Unlock Your Free Woodworking Secrets – Download Now!
6. Sanding and Finishing the Curio Cabinet
The last and final steps regarding completing a curio cabinet are sanding and finishing. Nothing makes a project look more professional than a good finish. Not only does it present good looks from the very nature the wood possesses, but it also will protect the wood from regular daily use.
The Process:
Sand the whole cabinet using an orbital sander for bigger sections and for detail use of hand sandpaper. Start with a fairly rough grit to eliminate all the rough spots then work through successively finer grits to obtain a smooth, even finish—pay special attention to the joints and edges to ensure they are smooth and flush.
Apply a Finish: Once the cabinet is fully sanded, apply your preselected finish. Whether you want to stain, paint, or varnish, do so in thin and even coats. Let each coat dry absolutely before adding to it. Several coats are probably necessary for the added depth of color and protection.
Final Touches: When the finish is dry, apply finishing touches such as installing hardware like handles or knobs. If your design consists of interior lighting, then install it now. Lighting can make a huge dramatic effect, highlighting your displayed items and sharpening the showmanship.
Tip: If wanting to add more durability, add a polyurethane or a lacquer finish, especially on a curio cabinet that will be put in a high traffic area or contains heavier objects.
Conclusion
Building a curio cabinet is an awesome project combining a woodworking art with what proves so much enjoyment to many people—a great piece of furniture, very functional, and lovely to look at. Following the detailed steps given in this guide, you can create a curio cabinet, not only serving your needs specifically but presenting itself as an amazing place for showing off your own favorite items. Choose between a simple, classic design or a fancy custom one; either way, your handmade curio cabinet will be a perfect heirloom, around to be cherished for generations. So go gather your tools, select your materials, and start building your own curio cabinet today.