
Start Your Woodworking Journey – Download Your Free Guide!

Wood crafting is considered one of the most enriching and diverse adult hobbies, combining very well the elements of creativity, relaxation, and practicality. Whether one is an extremely experienced or novice woodworker, there are innumerable types of wood craft ideas available to suit a large number of skill levels and interests. From practical home decor items to personal gifts, you can let your imagination run wild with wood while developing your skills. In this tutorial, we’re going to talk about 10 woodworking ideas for adults that you can actually make from your own home, regardless of your skill level.
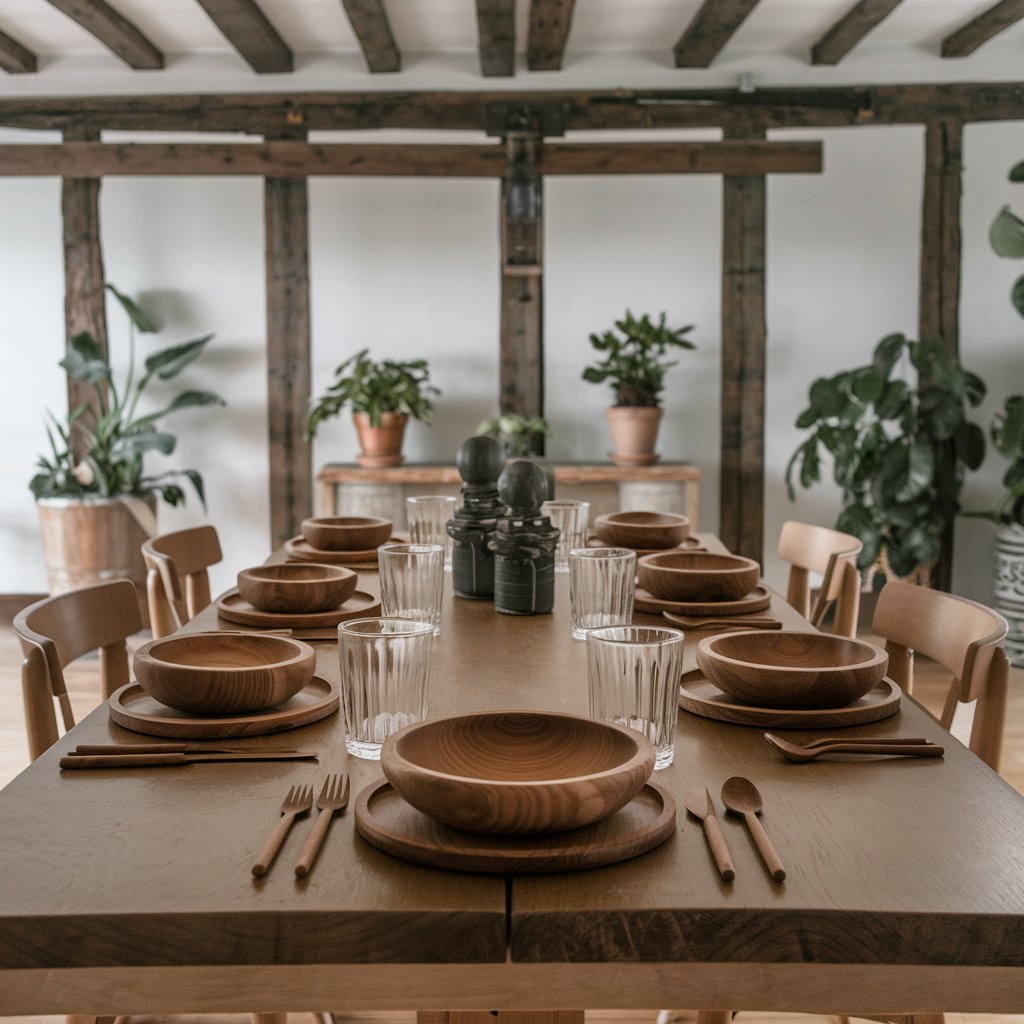
1. Rustic Wooden Coasters
Why It’s a Great Project:
Wooden coasters are just about the most easy and personalized thing you can make for the decor. They’re perfect for protection and adding a rustic touch to your home. It is easy and requires minimum equipment, hence very suitable for beginners in the field of woodworking.
How to Make It:
First, pick the right type of wood for the job. Good examples are oak, pine, and maple. Cut slices from the branch of a tree or use ready wooden circles, which are sold in craft stores. Use medium-grit sandpaper over the cut edges to smoothen them, staining or painting with color to highlight the natural beauty of the wood. Finish with a clear coat of polyurethane or a water-resistant sealant to protect the wood from moisture and wear.
Materials:
Wood slices, saw (if cutting your own slices), sandpaper, stain or paint, clear sealant
Tip: Give your set of coasters a personal touch by engraving initials, painting designs, or wood-burning patterns into the wood. You can take it up a notch by using a wood-burning tool to etch an intricate design or a monogram into the wood, which will add a personalized element that makes these coasters great presents for friends and family.
Start Your Woodworking Journey – Download Your Free Guide!
2. Wooden Picture Frames
Why It’s a Great Project:
Making wooden picture frames is a great way to display one’s favorite photos or artwork. This is a simple afternoon project that is great for any skill level. In addition, picture frames can be stained, painted, or decorated in many fashions to further customize the project to your personal style.
How to Make It:
Cut the wood pieces into desired frame size using a miter saw that provides accurate 45-degree angles per corner. Smoothen the pieces with sand and assemble the frame with wood glue and corner clamps, which hold the frame pieces until the glue dries up. Insert small nails or brads into every corner for added stability. Attach the backer board and glass to complete the frame. Consider decorating the edges with a router or adding moldings to give it an even more finished look.
Materials Needed:
Wood strips, miter saw, sandpaper, wood glue, corner clamps, nails or brads, glass, backer board
Tip: M Pesek Consider using reclaimed wood for that vintage look of rustic appearance. Reclaimed wood adds character and charm, with naturally imperfect, knotted, weathered beauties. Finish with a wax or matte sealant to keep the natural texture and look of the wood.
3. Wood Burned Cutting Boards
Why It’s a Great Project:
Pyrography, or wood burning, will add an artistic feature to otherwise plain kitchen utensils, like cutting boards. This project is ideal for those interested in practicing this new form of art and getting personalized kitchen accessories.

How to Make It:
First, decide on and select a top-grade hardwood cutting board, such as maple and walnut-both resistant to wear and tear aside from being food-compatible. Using a wood-burning tool, create designs on the surface of the board by starting with some simple things: geometric patterns or monograms, progressing into floral motifs, or depicting wildlife. Following the burn, smoothen the surface with some sanding to remove any rough edges. Apply food-safe oil for protection and to make the wood grain more attractive.
Materials Needed:
Wooden cutting board, wood burning tool, fine-grit sandpaper, food-safe oil such as mineral oil or beeswax
Tip: Before going into your cutting board, do some practice on scrap wood. Wood burning does need to get the hang of heat vs. pressure to get cleaner, more accurate lines.
4. Floating Wall Shelves
Why It’s a Great Project:
They work wonderfully for storage and display anywhere, with no bulkiness of hardware. It’s a great way to add in storage in little places while maintaining a clean, modern look. This project is very customizable in terms of size, shape, and finish.
How to Make It:
Cut the wood into desired shelf size, making sure all the edges are straight and smooth. Sand the surfaces to prepare for finishing. Attach hidden wall brackets to the back of the shelves. Then, place the shelves on the wall with screws and anchors, making sure to use a level so that they are perfectly straight. For an invisible look that is sleek and floating, wrought iron brackets can give it an industrial feel.
Materials Needed:
Wood boards, saw, sandpaper, wall brackets, screws, anchors, level
Bonus Tip: Stain or paint the color of the shelves to your decor for a flush-like look. Consider adding several at staggered heights for a dramatic and catchy wall display. In other ways, floating shelves can be used to display plants, books, and decorative items to make a room useful and stylish.
Start Your Woodworking Journey – Download Your Free Guide!
5. Wooden Jewelry Organizer
Why It’s a Great Project:
A wood jewelry organizer could be a functional and decorative way to store one’s jewelry neat and within reach. Projects can be very personalized-from size and shape to type and number of hooks and compartments. It is an excellent project that combines small item organization with showing off one’s woodworking skills.
How to Make It:
Cut pieces of wood to make a frame, attach hooks or dowels to hang necklaces and earrings, and stain or paint. For added storage, consider adding small shelves or compartments for rings and bracelets. You can even attach a pretty back panel or add a mirror for additional functionality and style.
Materials Needed:
Wood boards, saw, hooks or dowels, sandpaper, stain or paint, small hinges or brackets (for additional shelves)
Bonus Tip: Make the organizer even more serviceable and beautiful by gluing a mirror or other embellishments, like woodcarvings or wood paintings. You can also attach a small tray at the bottom to catch the small items that might fall, such as earrings and rings.
6. Plant Stands
Why It’s a Great Project:
Plant stands are the easiest thing ever: displaying your greenery higher and giving it a whole new dimension. They provide a spot to put your plants on display while keeping them off the floor, helpful when there is limited floor space or to create a focal point.
How to Make It:
Cut the wooden pieces to the desired height and then assemble them using screws or wood glue. Smoothen and complete with paint or stain for protection from moisture. Create stands in various heights to create a multi-level plant display that adds depth and interest in a room.
Materials Needed:
Wood boards, saw, screws or wood glue, sandpaper, paint or stain
Tip: Add some dynamism to the display of your candles, using different heights and shapes. If you want more of a modern style, go for geometric shapes; otherwise, round or square bases will give your home a classical look. Add a clear sealant to make the wood last longer, as this might help prevent damage from water in case it comes into contact with any part of the stand, including standing water outdoors.
7. Wooden Candle Holders
Why It’s a Great Project:
Wooden candle holders add warmth and a natural touch to your decor. They are rather easy to make and can be created in a few shapes and sizes to suit just about any setting or occasion. This would be such a great project for ambiance and a beautiful addition to your dining table, mantel, or outdoor patio.
How to Make It:
Cut to size, drill candle holes of your choice, including tea lights, votives, or taper candles. Sand and then paint or stain. You can add edge details using a router or create your own designed wood carvings. Adding a metal insert or even a lining will help protect the wood from heat and wax drips.
Materials Needed:
Wood blocks, saw, drill, sandpaper, paint or stain, router, metal inserts
Hint: Feel free to experiment with different shapes and sizes to come up with a unique set of holders. You can create multiple identical holders or mix and match them for a more eccentric look. To give it a modern twist, try using different finishes or adding a metallic touch.
8. DIY Wooden Signs
Why It’s a Great Project:
Add character and personality to your space with these wooden signs. Quotes, family names, and designs-you can put whatever you want on it, which will go just perfect in any room. This is one of those very creative projects, too, since you can really play with fonts, colors, and styles.
How to Make It:
Cut a piece of wood to size, sand smooth, and paint or stain the background of the board. With your design, stencil or freehand lettering. Protect the wood and paint with a clear coat. Go that extra step or character by adding rustic looks with a wood-burning tool and embellish with things like artificial flowers or twine.
Materials Needed:
Wood board, saw, sandpaper, paint or stain, stencils, clear coat, wood-burning tool (optional)
Suggestion: Use reclaimed wood for a farmhouse rustic-style sign. You can play with different fonts and color to make it unique. If you want to add some polished touch on your sign, frame it up using contrasting wood or metal.
Start Your Woodworking Journey – Download Your Free Guide!